1
/
of
1
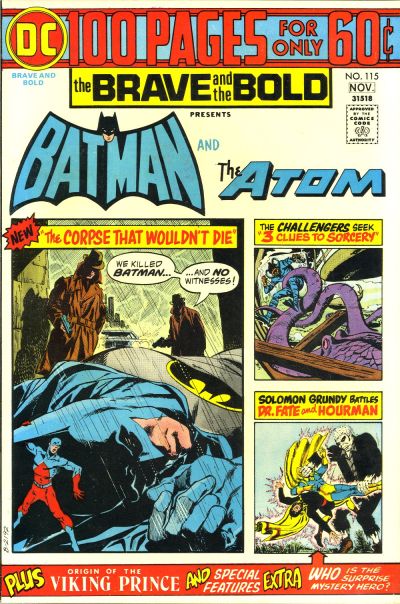
The Brave and the Bold 1955 #115 - back issue - $5.00
The Brave and the Bold 1955 #115 - back issue - $5.00
Regular price
$5.00 USD
Regular price
Sale price
$5.00 USD
Unit price
/
per
Couldn't load pickup availability
When Batman is electrocuted and declared brain dead while on the trail of the kidnapped Debbie Manton, the Atom must enter the detective's brain and reactivate it to finish the case and in doing so restores the Batman's brain to normal functioning.
On-sale date from Comic Reader #108.
- The Corpse That Wouldn't Die - Colors credit provided by Anthony Tollin.
- The Brave and the Bold Presents - Contents and indicia page.
- The Corpse That Wouldn't Die! - Told in three parts. Part 1 - The Golden Girl-Hunt (7 pages). Part 2 - The Body That Was Re-Born (6 pages). Part 3 - Ten Feet to Eternity (7 pages).
- Solomon Grundy Goes on a Rampage! - Credits for script, pencils, inks and edits confirmed from Julius Schwartz's editorial records, provided by DC Comics. Told in three chapters. Bottom 1/3 of last page is a house ad for other DC Comics. The original page 2 is removed and the original pages 9 & 10 and pages 15 & 16 are combined into one page each for this reprint.
- - Letters or comments from Jim Munay Jr., T. E. Pouncey, Lynda Yamamoto, Black Wolf, Mark Simmet, Bob Jackson, Barry Lee Zlochoner, Warwick Danks, Tom Keslering, Donny Flumerfelt, Sean McInerney, Bill Morgan, Tim Richardson, Eric Baker, Ed Eaton, Steve Clement, Craig Butler, Bob Rodi, Jerry Wilson, Tom Hunter, Brian Wilkes Prescott, Clarence Rutherford, Steve Beery, John Gavin, John Regent, Richard Schoenstein, Rob Sansing, Billy Crook, Tim Rourke, Bill Wu, Mark Harris and Eddie Trentham.
- Origin of the Viking Prince! - Told in two parts. Bottom 1/3 of last page of part one is a house ad. Bottom 1/2 of last page of part two is a puzzle.
- Double Clues #2 - Puzzle
- Doctor Fate and Hourman: What Made Them Tick? - Doctor Fate art from More Fun Comics #55; Hourman panels from Adventure Comics #48.
- Answers to Double Clues #2 - Answers to Double Clues #2.
Share